Skin Smoothing using Frequency Separation in Photoshop

Frequency separation is a popular method for skin smoothing and blemish correction in Photoshop. It is used by high-end re-touchers as well as many photographers to effect skin tone and work on trouble areas. In this post, I will take you step by step on how to set up and use frequency separation to smooth and repair skin while seeing natural looking texture.
So, what is it? Frequency separation divides your photo into two separate layers. The first contains the “high frequency” information, the fine details, pores, fine lines, skin blemishes, and textures. The second contains the “low frequency” information: the colors, shadows, and highlights. By separating these two types of information about your portrait, we can work on each layer separately, while not changing the other, giving us much more control over the finished image.
The Process
You may want to record this process as an action so you can then reproduce this technique quickly and easily in the future.
1. Open your photo to edit in Photoshop.
2. Duplicate your image into two copies of the image layer (Ctrl or ⌘J)

3. Rename the top copy HF and the lower copy LF

4. Select these two new layers and group them (Ctrl or ⌘G) and rename this group Frequency Separation
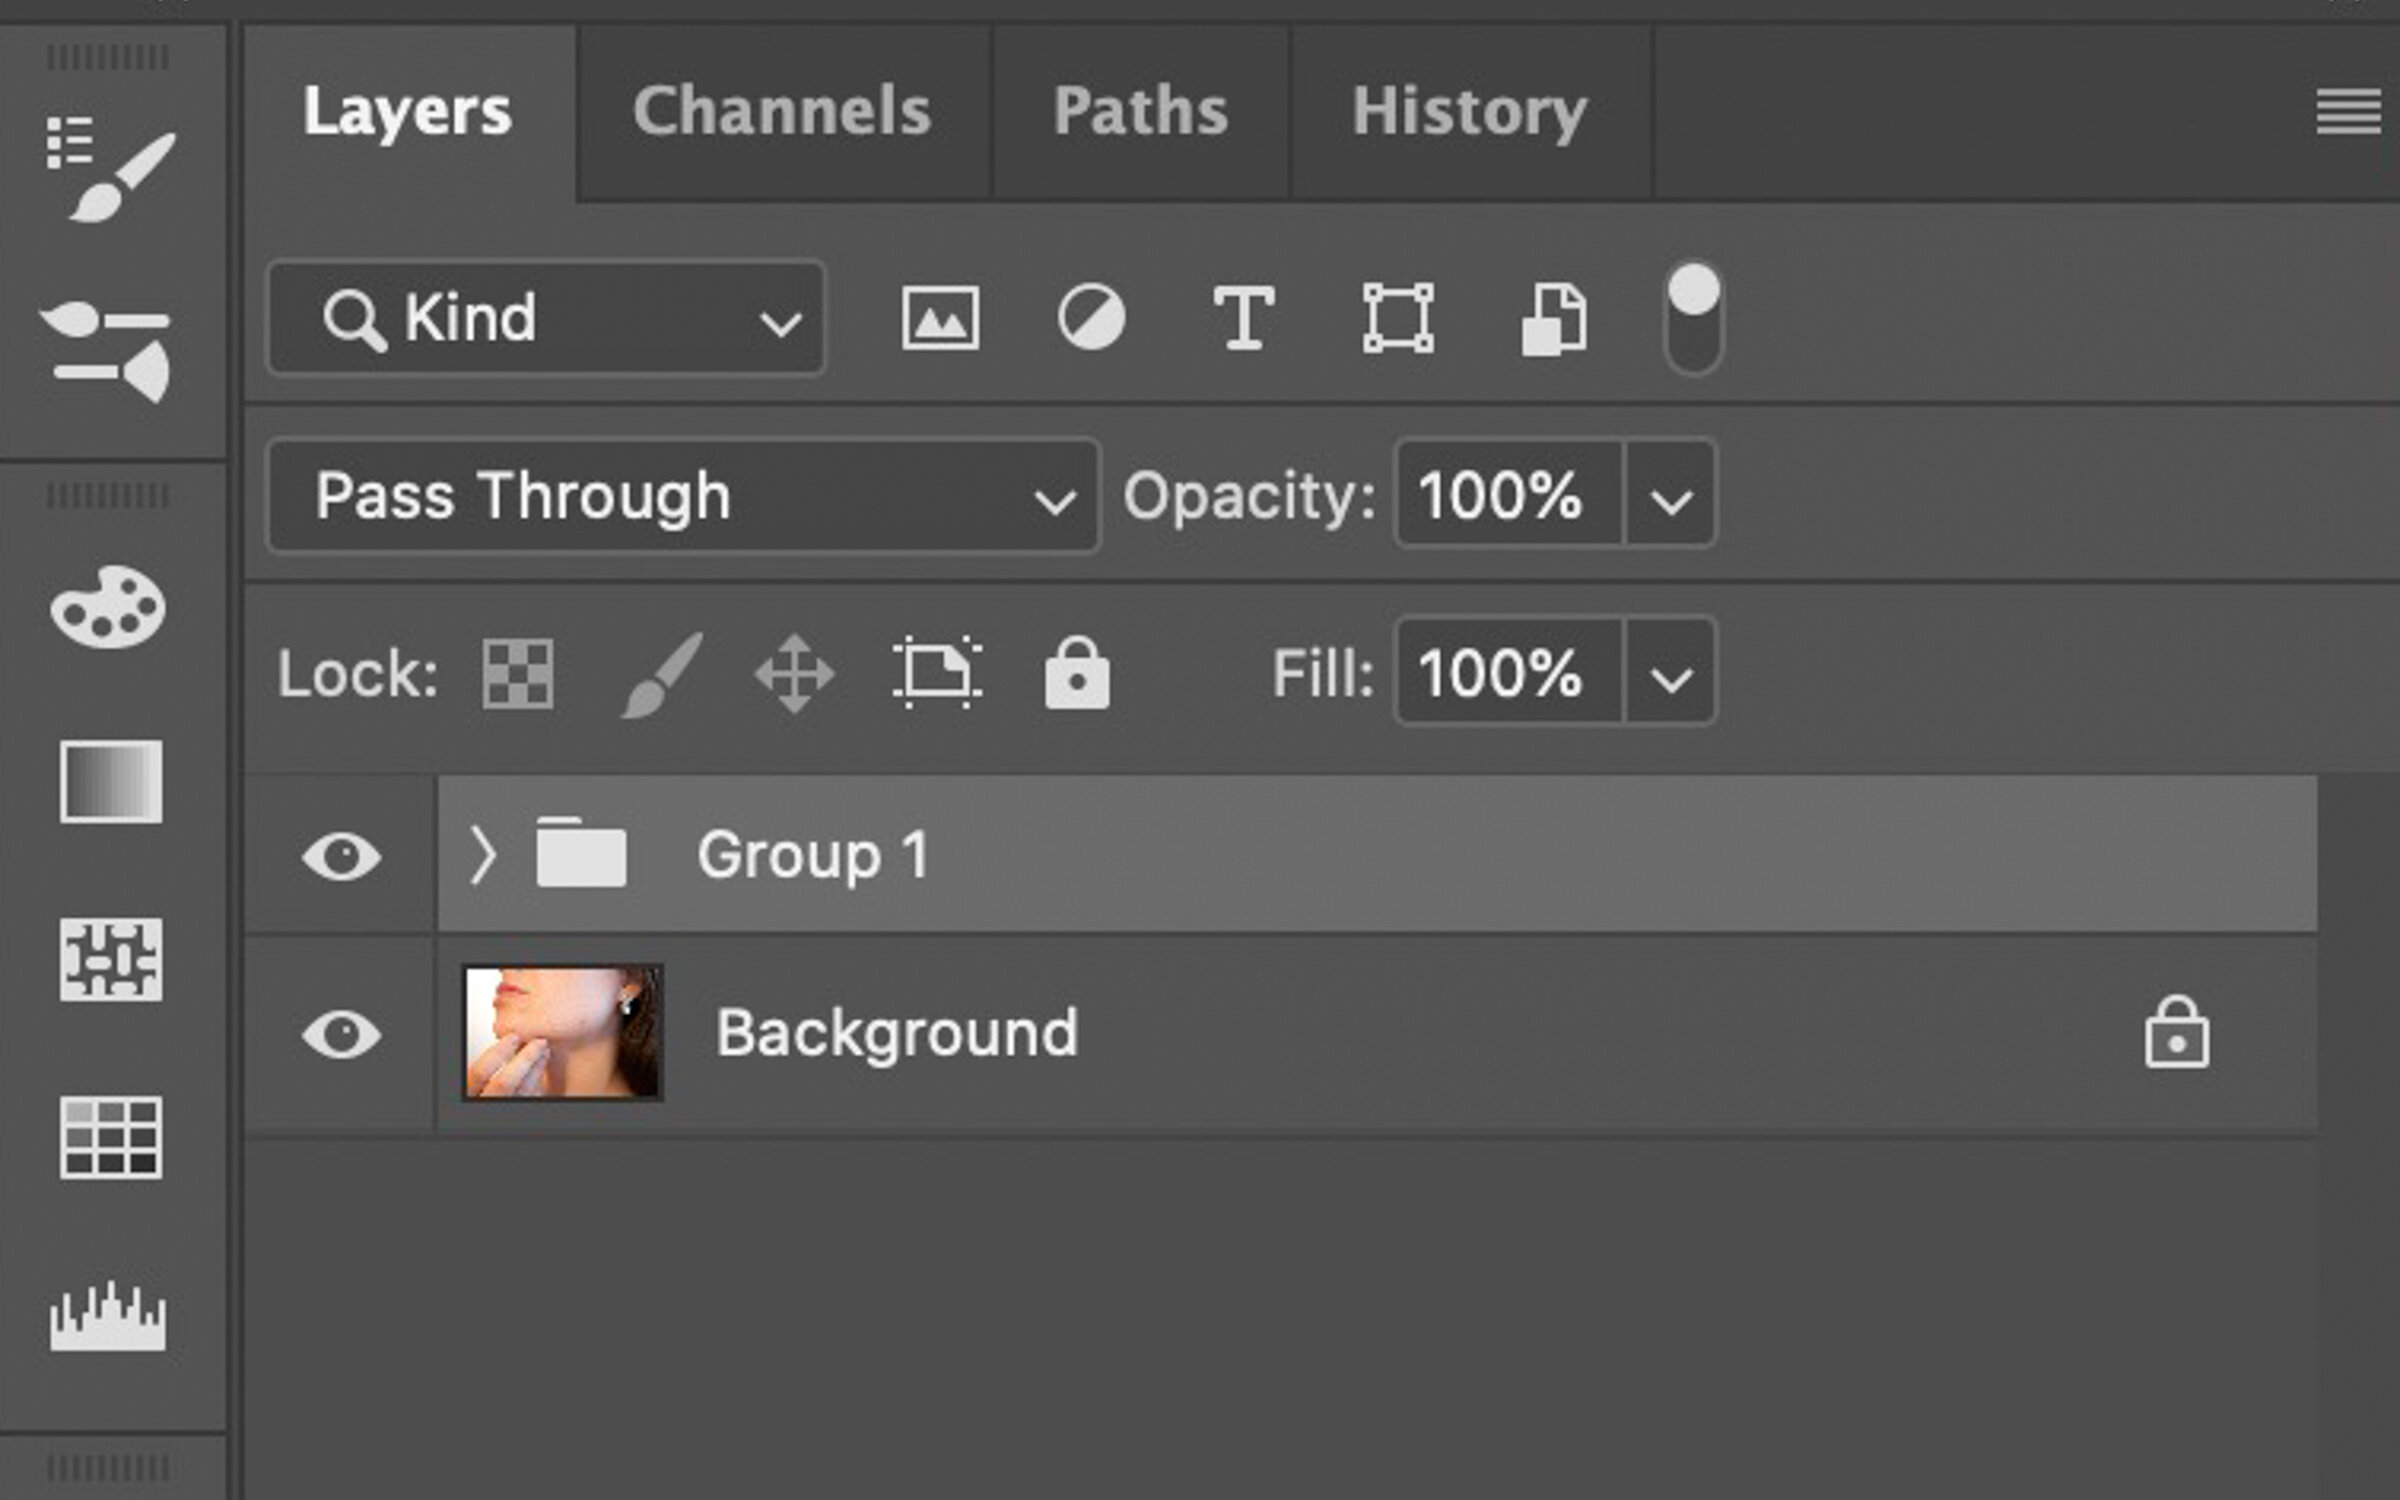

5. Turn off the HF layer by clicking the eyeball beside the layer
6. Select the LF Layer

7. In the menu bar, select Filter>Blur>Gaussian Blur…

8. In the popup box, enter a blur value somewhere between 4 and 10 pixels; in this case I chose 8.5 pixels

9. Click OK
10. Make the HF layer visible and select it

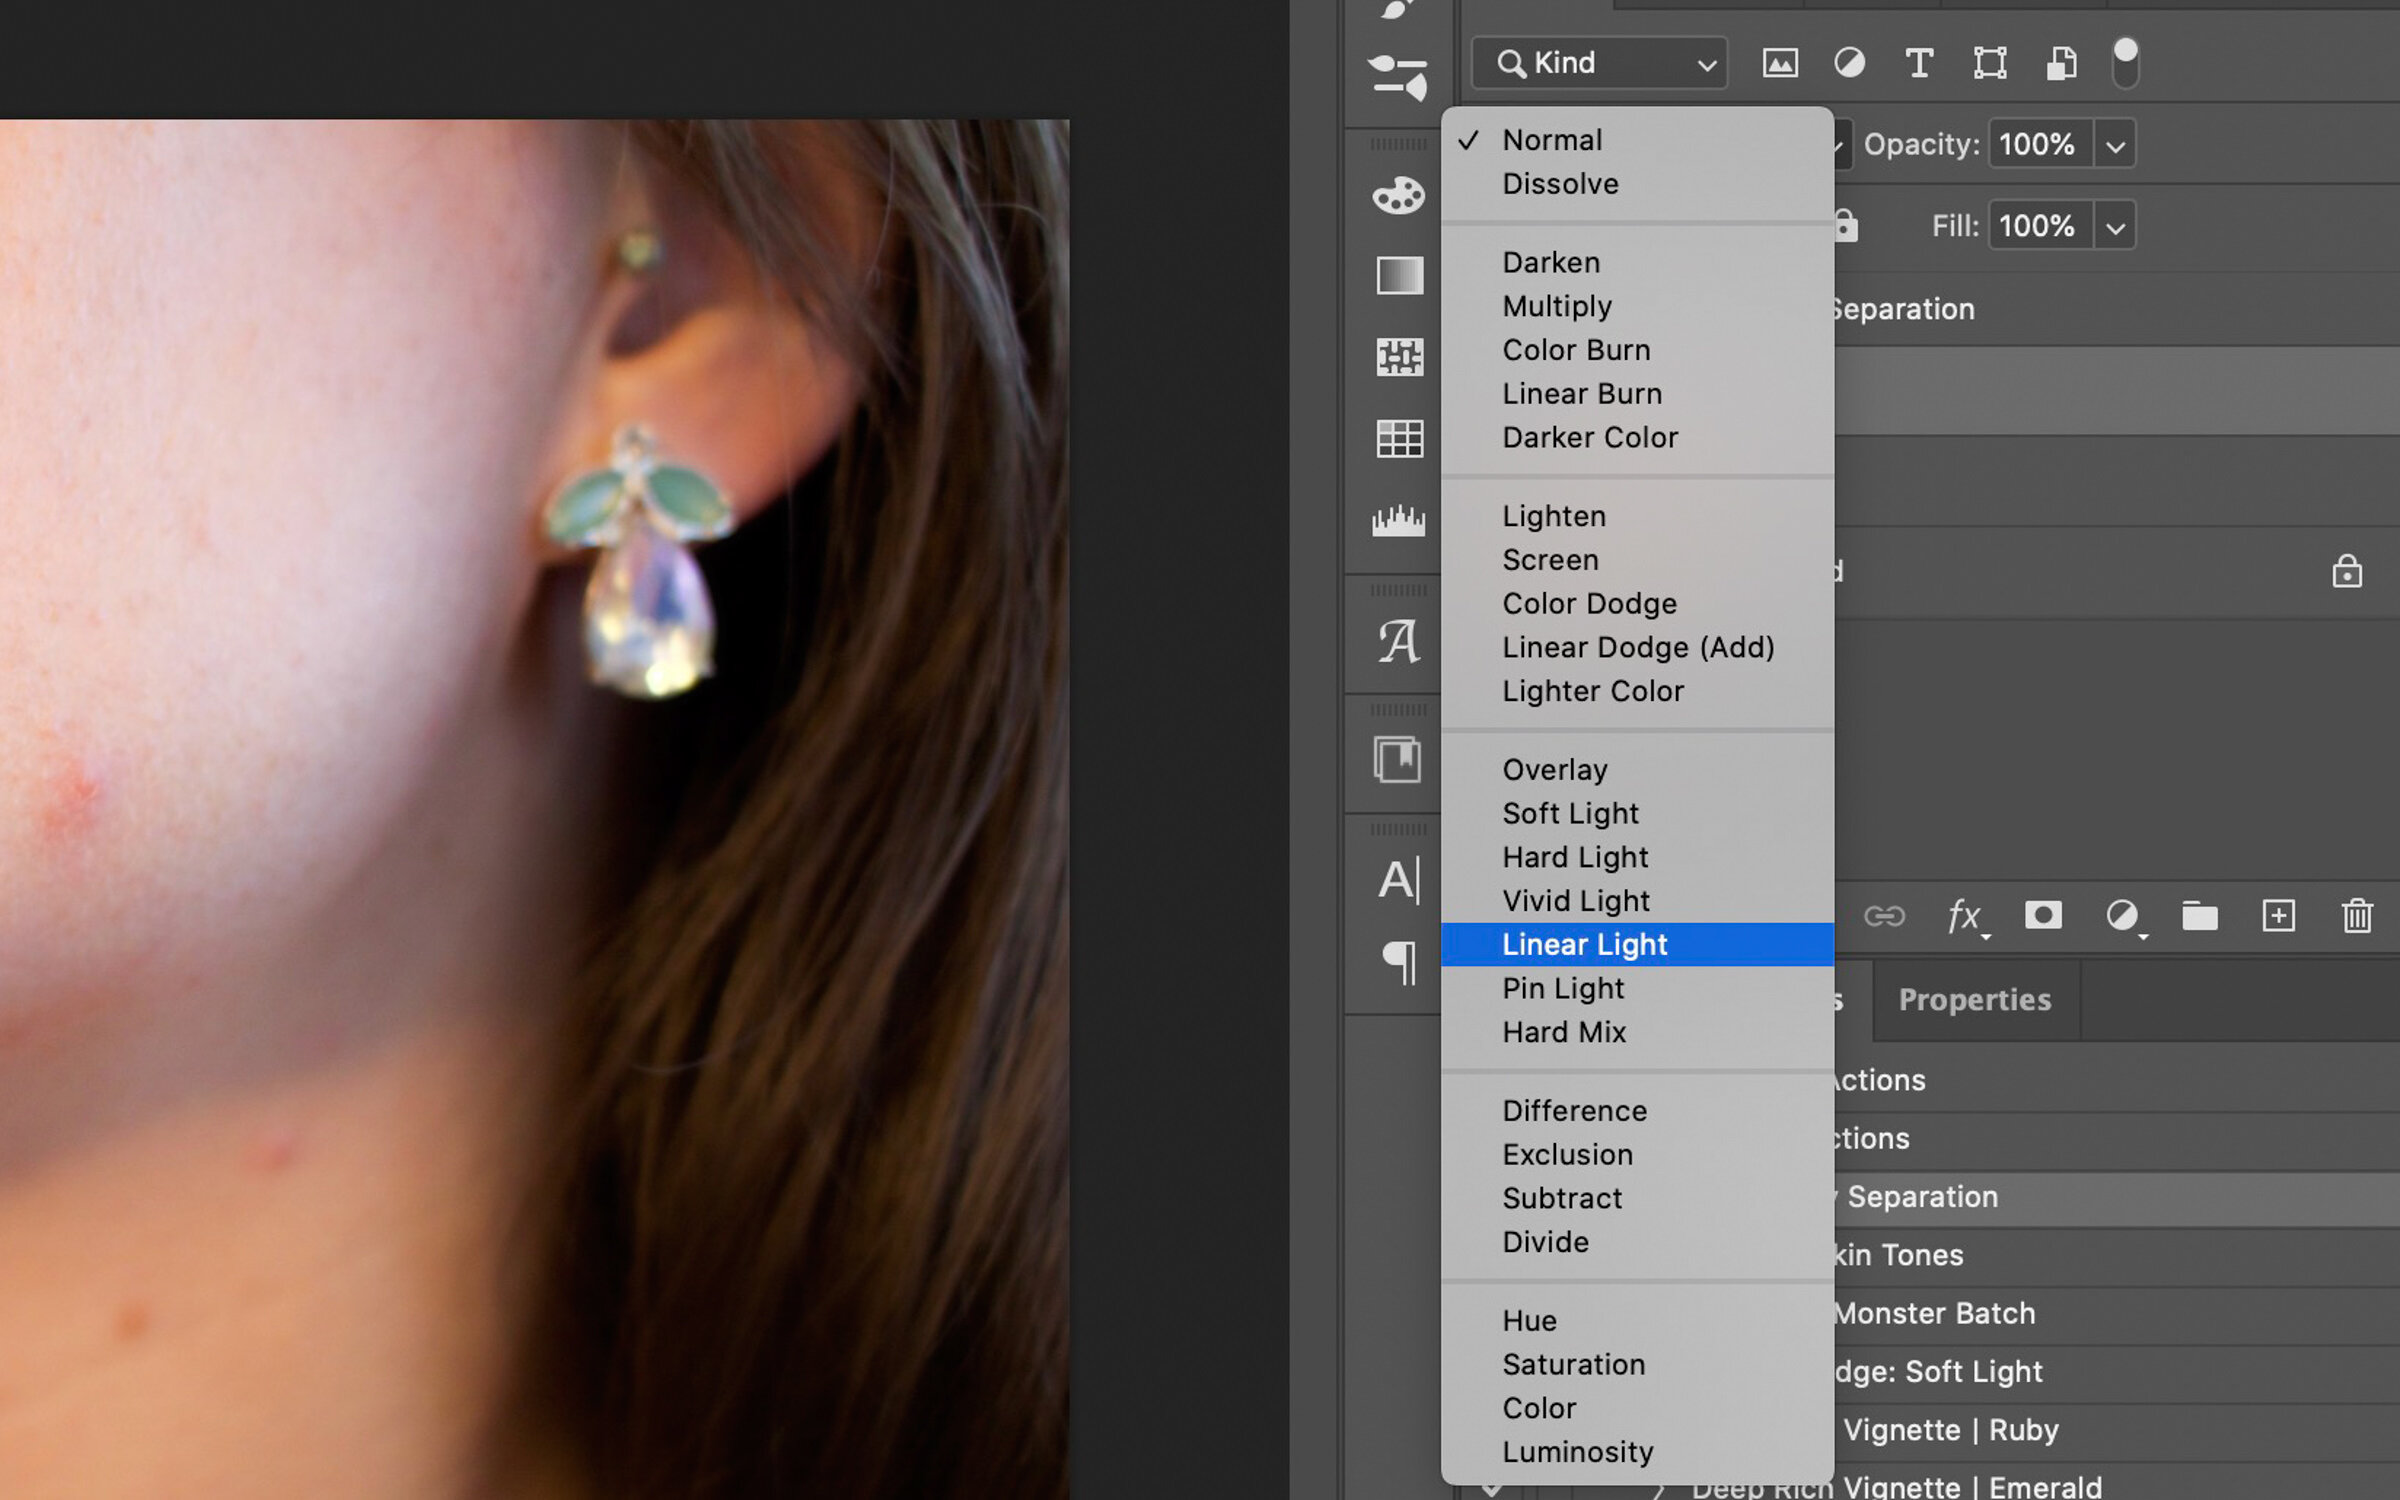
11. In the menu bar, select Image>Apply Image…

12. In the pop-up dialog box, enter the following values:
a. Layer: LF
b. Blending: Subtract
c. Scale: 2
d. Offset: 128

13. Your image now is a medium grey with the texture details of the image just visible
14. Finally, set the blend mode of the HF layer to Linear Light and you are all done
Now what?
Now it’s time to use your new layers to edit an image. In the video below, I will walk you through the process of using frequency separation to edit two images, one where it is used to smooth skin and remove blemishes, and he second where I will use it to soften wrinkles and smooth out skin.
Here you can see the before and after look of the two images highlighted in the video.

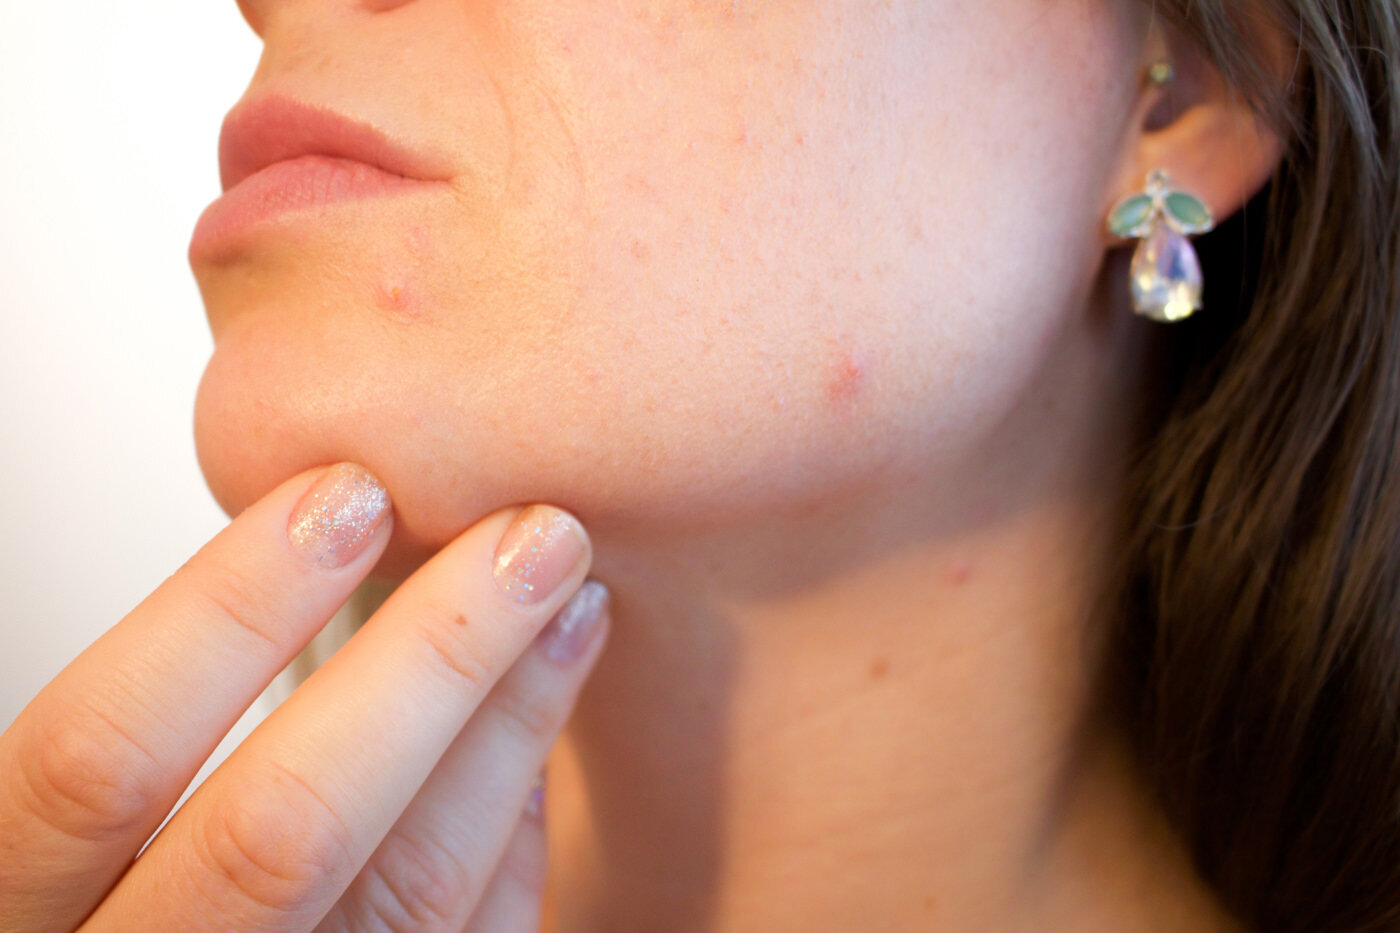


The one thing to keep in mind when using frequency separation is that it is pretty easy to get carried away and go to far. While some people would appreciate it, most do not want to look like the cover of Vogue when you are done. Be a little subtle in your technique and when you feel you are done, take advantage of the opacity slider (on the frequency separation group, not the individual layers) to bring back some reality to your portrait.
If you want an action that does the frequency separation for you, click here to download one.
Keep checking back here for more tutorials!